Table Of Contents
Installing the New Garage Door Opener
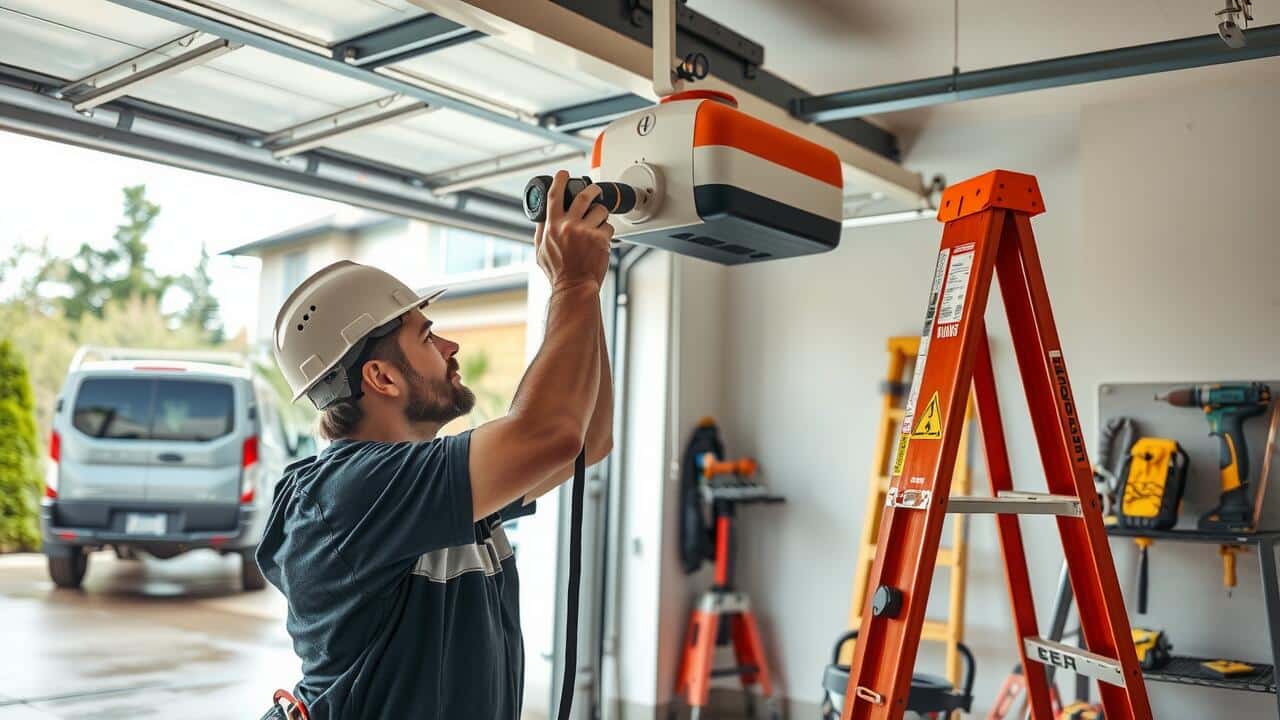
Installing a new garage door opener can be a rewarding project for those who are handy and willing to take on the task. Garage door opener installation in various settings may differ slightly, but fundamental steps remain consistent. Before you begin, ensure you have all necessary tools and equipment, including the new opener, brackets, and any mounting hardware included in the package. Read through the manufacturer’s instructions thoroughly to familiarize yourself with the specific requirements for your model.
Start by preparing the garage door for the installation by disconnecting the existing opener if one is present. Proper measurements will help in the accurate placement of your new opener. Typically, the opener should be mounted to the ceiling, centered over the door for balanced operation. Pay attention to the mounting brackets and ensure they are securely fastened to support the weight of the opener. Each step in the installation process is critical. Following safety precautions and instructions meticulously will help ensure a successful garage door opener installation in your home.
Mounting the Opener Properly
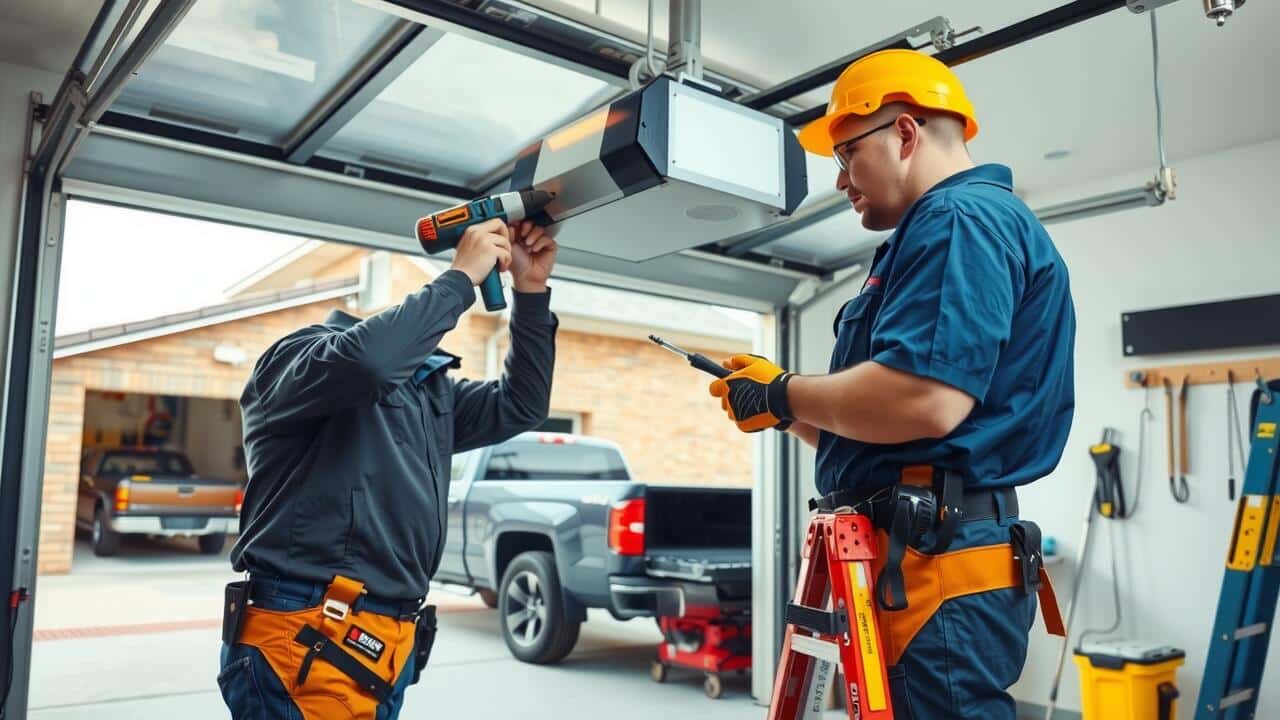
Correctly mounting the garage door opener is crucial for the overall performance and longevity of the unit. Begin by ensuring that the opener is installed at the center of the garage door, aligning it with the door’s rail. This positioning allows the opener to effectively lift and lower the door. Secure the mounting brackets to the ceiling or wall studs using appropriate hardware. It’s essential to use a level during this process to guarantee that the opener is mounted evenly.
When performing garage door opener installation in a residential space, consider the height of the opener as well. Most manufacturers recommend installing the opener at a height that allows for easy access to the controls while keeping it out of reach of children. Proper alignment of the opener’s drive mechanism with the door’s lifting mechanism is vital. Double-check that all screws and bolts are tightly secured to prevent any unwanted movement during operation.
Wiring and Electrical Connections
Proper wiring and electrical connections are crucial components of successful Garage Door Opener Installation in your home. Before you begin, ensure that you have the right tools on hand, including wire cutters, wire strippers, and electrical tape. Familiarize yourself with the wiring diagram provided by the manufacturer. This diagram typically outlines the connections needed between the opener, the power source, and any safety sensors that are part of the system. Make sure to turn off the power at the circuit breaker to avoid any accidents during the installation process.
When connecting the wires, double-check that each wire is securely attached and properly insulated. Any exposed wires can pose a safety hazard. Additionally, pay close attention to the manufacturer’s instructions regarding the placement of the opener and ensure that it is plugged into a grounded outlet. Implementing these basic electrical safety measures will help minimize risks and ensure that your garage door opener operates smoothly and efficiently.
Basic Electrical Safety Tips
When undertaking garage door opener installation in your home, it’s essential to prioritize electrical safety. Start by ensuring that the power is turned off at the circuit breaker. This prevents any accidental shocks or short circuits while you work on the wiring. Use a voltage tester to confirm that there is no electricity flowing to the garage door opener’s electrical outlet before you begin connecting wires.
Wearing personal protective equipment such as gloves and safety goggles can further enhance your safety during installation. It’s also advisable to use tools that are insulated to reduce the risk of electrical hazards. When connecting the wires, follow the manufacturer’s instructions carefully to avoid any mistakes that could lead to malfunction or fire. Properly securing all connections will ensure that your garage door opener operates safely and efficiently.
Testing the Garage Door Opener
After completing the installation of your garage door opener, testing its functionality is essential. Start by checking the remote control and wall switch to ensure they respond correctly. Make sure the door opens and closes smoothly without any unusual sounds or jerks. Pay attention to the door’s movement and ensure it stops when it encounters an obstacle. Adjust the sensitivity settings if necessary to enhance safety features.
Garage Door Opener Installation in a residential setting requires thorough testing of all components. Observe the safety reverse mechanism by placing a sturdy object in the door’s path. The door should reverse immediately upon contact. Additionally, review the opener’s lights and settings, ensuring everything functions as intended. Conducting these tests properly confirms that your installation is successful and safe for regular use.
Ensuring Proper Functionality
After completing the installation of your new garage door opener, it is essential to test its functionality to ensure it operates smoothly. Start by checking the remote control and wall switch to confirm they engage the opener properly. Observe the door as it opens and closes, testing the limits and making any necessary adjustments to the travel settings. Also, pay attention to any unusual noises, which could indicate misalignment or a need for lubrication.
Next, verify the safety features of your garage door opener. Most models include an automatic reversal system that prevents the door from closing on obstacles. Place an object, like a small piece of wood or a cardboard box, within the door’s path. Close the door using the remote or wall switch. If the door stops and reverses once it encounters the object, the opener’s safety features are functioning correctly. Conducting these tests will ensure that your Garage Door Opener Installation in your home is not only complete but also safe and reliable.
FAQS
Is it safe to install a garage door opener myself?
Yes, it can be safe to install a garage door opener yourself if you follow the manufacturer’s instructions and adhere to basic electrical safety guidelines. However, if you feel uncertain about any part of the process, it’s advisable to consult a professional.
What tools do I need to install a garage door opener?
You will typically need tools such as a power drill, screwdriver, adjustable wrench, level, measuring tape, and possibly a ladder. Always check the installation manual for any specific tools recommended for your model.
How long does it take to install a garage door opener?
The installation process can take anywhere from 2 to 4 hours, depending on your experience level and the complexity of the installation. Following the provided instructions closely can help speed up the process.
Can I install a garage door opener without electrical experience?
While you don’t need extensive electrical experience, some basic knowledge of electrical safety and connections is helpful. If you are unsure about wiring, consider hiring a professional to assist with that part.
What should I do if my garage door opener doesn’t work after installation?
First, check to ensure all connections are secure and the opener is properly mounted. Then, verify that the power supply is functioning. If it still doesn’t work, consult the troubleshooting section of your manual or contact customer support for assistance.